Saturday, December 26, 2015

Boxing day, Man's true shopping day


Boxing day, Man's true shopping day


Gentleman, Boxing Day sales are upon us, it is time to rise from our husband chairs and claim the bargains we truly deserve. For most of the year we have seen newer, bigger, better TV’s, toys and gadgets go one sale and every time we are told from our better halves no! They are a waste of money. But have no fear, it's Boxing Day, the one time of year they will let down their guard and let you buy that expensive little treat for yourself, if only to turn your attention away from other purchases. But no matter what reason is it’s a great opportunity for the men to pick up a special gift for themselves and here are the most popular choices.


TV 4K and 65inches and above

Who doesn’t love a Big TV. Big TVs aren’t even necessarily more expensive these days, especially if you can find a good deal for one at the right time of year. And if you can get an extra couple of diagonal inches for no extra cash or even a few hundred dollars more, then it’s a no-brainer. No matter what size your room, you should always have a TV that screams ridiculous.


Hovertrax 

While people may call it a Hoverboard it is anything but. With two wheels and hardly any elevation from the ground, unless you intend to take it off jumps, it should not be called a Hoverboard. However it being one of the most have toys of the year means it deserves a place on this list


Parrot Drone

With new laws constantly being depated and reviewed now could be your last chance to fly one of these before they start to get banned. Amaze your friends with the pictures you can create and make fake promises that they can have a go in 10 or so minutes.  


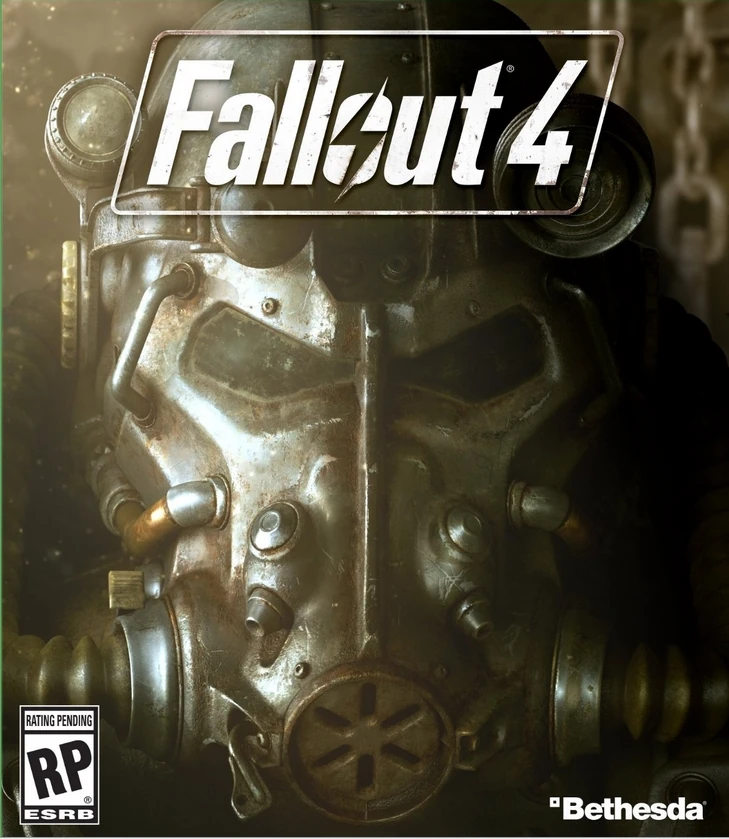
Fallout 4

What’s a list of Man toys without video games and why not go for the game that is ruining relationships and costing jobs. Fallout 4 is as you can probably guess the 4 major release of the series and has won critical acclaim making it a must have for anyone yearning to live in post-apocalyptic America.   


So happy holidays to everyone and remember to ignore the voices in your head saying that it’s too extravagant boxing day sales only happen once a year.  

Thursday, December 24, 2015

Most Effective Ways to Stay Fit and Healthy

Are you struggling to maintain a balance between commitments and  maintaining a healthy lifestyle? 
Below is a list of some effective ways to enjoy a social life, stay fit and not be broke!

1. GYM
Average Cost:15- 25$/ wk
Going to a gym is by far the most effective and most efficient to maintaining a healthy lifestyle. With cost averaging a little over $2 a day, a consistent routine will turn all those kebabs into rock solid abs in no time. People often enjoy getting a head start to the day by waking up early and heading to the gym to feel re-energized or going after work to get rid of built of stress, or simply going because there is nothing else to do. gym-goers often find that the key to success to maintain themselves heading to the gym is by figuring out a routine that works for them.

Tip: Find a workout buddy

2. Tennis    
Average Cost: 15-20$/ hr
Tennis is a more enjoyable way to stay active and is also less time constraining. For those who are just looking to release a short burst of energy on a weekly basis while also maintaining a form of social life, tennis is the perfect option and all that you are required to bring is one friend. Tennis is a really fun sport that doesn't require a lot of skill and is still pretty enjoyable if you are not the best of players 

3. Indoor Soccer
Average cost: 10-25$/ hr
Indoor soccer is a great way to remain fit and maintain your social life with a larger group of friends. Once a week, round up a circle of friends and head down to a local indoor court (you'll find one not too far away from you) and play for an hour or so and you'll be exhausted. Its always fun to be competitive however passionate players should avoid taking things too seriously without a referee (remember, you're here to keep friends not lose them!)   

4. Cross fit
Average cost: 40-50$/ wk

While at first you may be deterred by the price, in the long run it will all be worth it and your body will thank you dearly. This form of exercise contains a staggering amount of body transformations that will be leaving your jaw on the ground in awe. By no means easy or cheap, you better prepare for workout routines that will leave your shirts soaking wet.

Sports to Look Out For This Winter

With Summer fading away and Winter looming its time to look at sports that will be having us on the edge of our cozy seats.

  • A-League
The A-league is the fastest growing sport in Australia and its no wonder why. With one of the tightest  soccer competition in the world you would be crazy to miss all the action.


  • Super Rugby


A competition that possesses the best players from are the world ranging from old veterans to young blood.


  • NRL
No one has won back to back premierships in over 25 years. Who will rise to claim premiership glory this year? 
  • AFL
A game that  boast the highest number of crowd attendance compared to any other sport and with good reason. It's electric!

Wednesday, December 23, 2015

Christmas gifts for her

With Christmas just around the corner (literally tomorrow) I thought I'd do a quick post on last minute gift ideas in case there are some guys who still haven't decided what to get for their girlfriends/wives. I hope this list can help!

xoxo Farzana


Smashbox On The Rocks Be Legendary Lipstick Mini Trio $19

A beautiful selection of travel sized luxurious lipstick shades in Legendary (true red,) Fig (red grape) and Primrose (mauve pink,) you'll be sure to impress with this premier line's bestsellers.


Stella McCartney Mathilda Giggling Contour Plunge Bra $52

You may think this is a present for her, but it's actually a present for you. ;) Available exclusively at David Jones, this bra is truly special. It features Japanese Leavers lace and rich stretch silk. The bow in the centre is even handmade!


Victoria's Secret Lace Applique Slip $70

Currently on sale for half price for $35! Entice in something sexy; silky satin bordered in dramatic lace, and all in a flirty little shape. This will feel even better than it looks.


Fujifilm Instax Mini 8 Camera $99

In the age of social media, few things are more precious than printed photographs. Even better are instant photos. The Instax Mini 8 automatically determines the best brightness to make shooting easier. This camera also comes in a range of colours (above are only a couple) so you can choose according to her taste.


Swarovski Attract Light Pear Earrings $149

These are the latest addition to the bestselling Attract family. There is a stunning halo of crystal pavé around a light blue centrepiece, resulting in a brilliant sparkle. It won't even tarnish, because the metal is rhodium plated.

Tuesday, December 22, 2015

The Perfect Polish for Every Season

The Perfect Polish for Every Season

Every girls knows that one of the best accessories we can have are good nails. For myself, maintaining my nails is very important and sometimes choosing your colour can be one of the most daunting decisions. Many girls follow trends regarding the shape of their nails, however I like to keep mine natural, simple and short with a pop of colour. Usually, I stick to light pinks or nudes but sometimes I can feel like a change and this usually depends on the season we are in. I have prepared a list of some colours which are perfect for each of the seasons, most of them appearing on my nails regularly. Hope you enjoy!

Summer

Summer is a time of sun, sand and swimming. For me, summer calls for light, natural nail polish which will enhance your tan, and my top picks definitely follow this guideline.

1. Essie: Neo Whimsical
2. Essie: Fiji
3. OPI: Funny Bunny
4. Essie: Virgin Snow


Winter

In Winter, I generally go for a darker nail colour, particularly as we begin to wear darker colour clothing throughout this season. I feel as though black can sometimes be a very harsh colour, so most of the options I have chosen are almost black, but not quite there with the colour still being visible.

1. NARS: Stormbird
2. Essie: Bobbing for Baubles
3. Mac: Vintage Vamp
4. OPI: Manicurist of Seville


Autumn

Autumn allows for more colours than Winter but it still isn't quite the time to go bright. So I have compiled a list of colours which are not bright, but still add a touch of colour and are perfect for Autumn time!

1. OPI: Berlin There Done That
2. Butter London: Muggins
3. OPI: Don't Pretzel My Buttons
4. Essie: Raspberry Red


Spring

And of course, Springtime calls for all the fun colours...

1. Essie: Sunday Funday
2. Essie: Bikini So Teeny
3. Essie: Loving Lilac
4. OPI: Mermaid Tears


Monday, December 21, 2015

Make The Rain Stopping Doll

The Rain Stopping Doll is a Japanese handmade doll. In Japan it's known as the Teru Teru Bozu which basically means shine shine monk. It's super easy to make. So lets get started. 

Stuff you need:

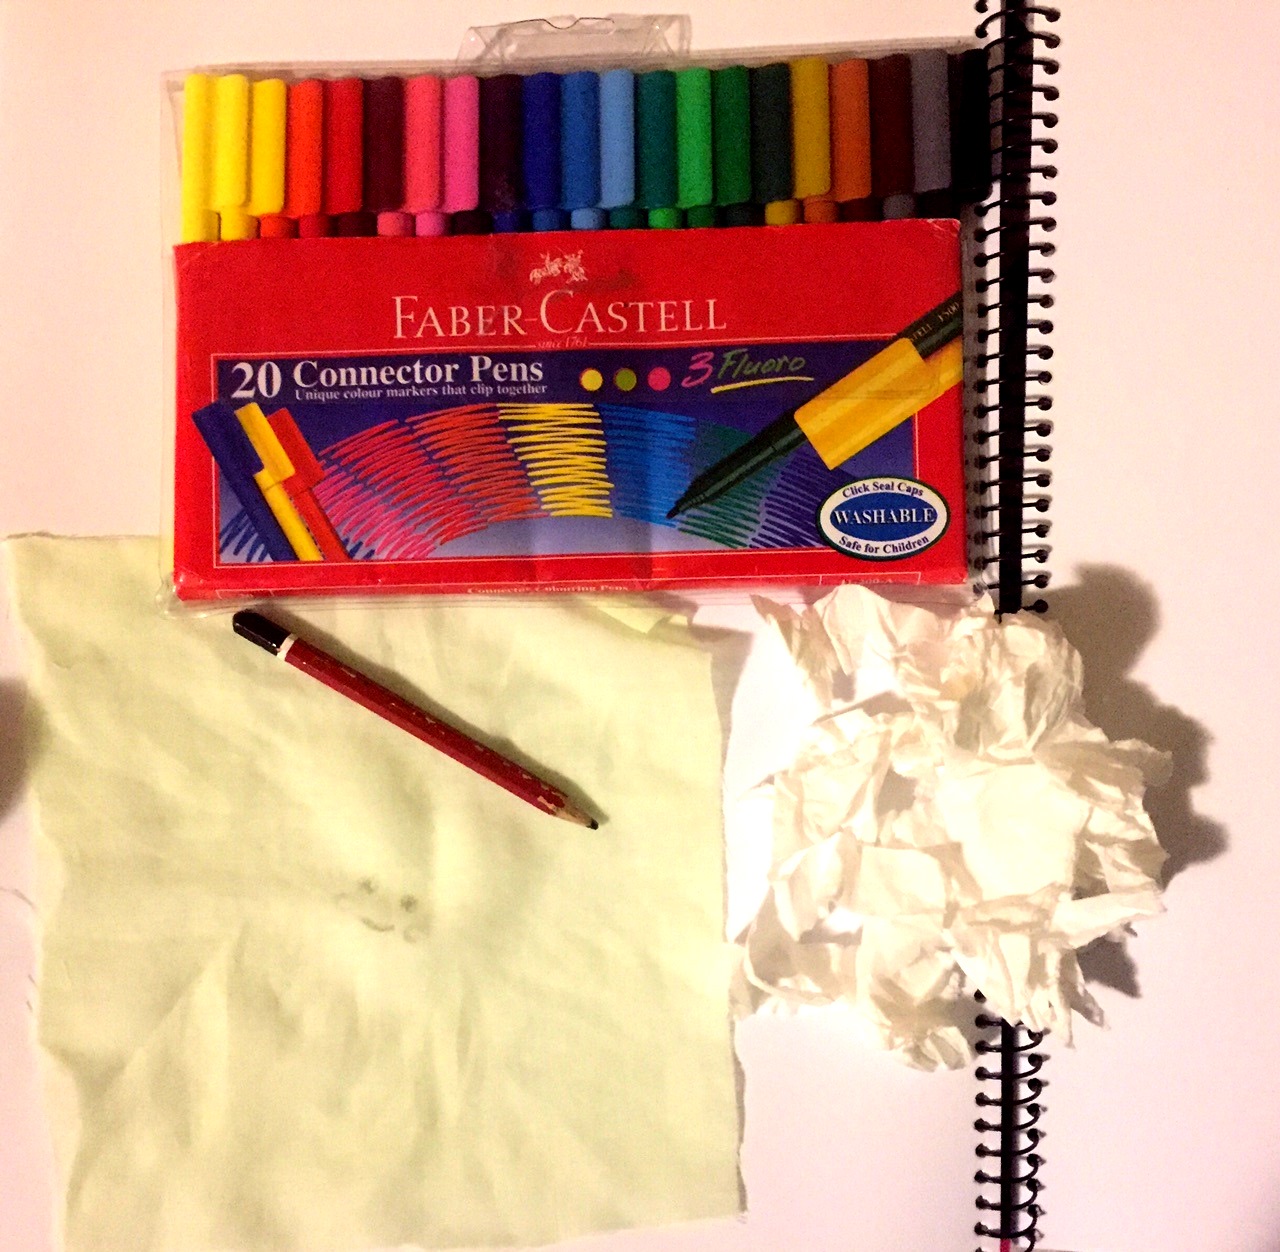
In order to make the Rain Stopping Doll you will need a square piece of cloth/fabric (preferably light colored, traditionally they are white), coloring pens, a pencil, a rubber band and some shredded tissue paper. 

Square cut of fabric (20 x 20), coloring pens, pencil, shredded tissue paper.


Instructions:

Step 1: Draw a face (smiley face, blank face, whatever type of face you like) on the center of your fabric. I drew the outline of a shy, smiley face. 

Draw a face on the center of the fabric. 
 Step 2: Color in the outline and lines using your coloring pens.
I used black for the eyes and the smile. And red for the blush. 


Black and red coloring pens (you can use whatever colors you like, get creative)
Color in the face.
Note: If you are using thin fabric like I am. Then try not to color in too much because the color will spread out on your fabric. 


Face colored in.  

Step 3: Flip it over and place the shredded piece of tissue at the center of the fabric. Then bring the ends of the fabric together. And make a sphere shape, with the face only visible on one side. Tie and secure the face using a rubber band. 


Place the tissue paper on the center of the fabric. 
Tie using a rubber band.
Note: Step 4 is an optional step. 

Step 4: Add some decorations, like a ribbon or whatever you like. 

Tie a ribbon around its neck to cover up the rubber band. 
The finished product. 

And there you have it. Your very own Rain Stopping Doll. It was raining today afternoon and now the rain has finally cleared up. Thank you Rain Stopping Doll. I'm not sure if they work or not but they are super cute and I've gotten attached to my one already. Here's to clear skies.

by Gayathri


Sunday, December 20, 2015

Mini Recyclable Christmas Tree

There are only a few more days till Christmas! And during my Christmas break I came up with this idea of making a mini recyclable Christmas tree. It turned out better than I expected. It's relatively easy to make and doesn't require many skills. So lets get started.

Stuff you need:

To make this Christmas tree you will need: some paint, some brushes, a paint palette, one A4 sheet of paper, 1 sheet of hard drawing paper, a ruler, a pencil, sticky tape and scissors. 


Stuff you need (I forgot the ruler)
Instructions:

Note: You can use colored A4 paper to make your Christmas tree instead of painting your A4 sheet of paper. Hence you can skip steps 1 to 3. 

Step 1: Mixing paint. 
You need yellow, blue, red and white paint in your paint palette 


Yellow, blue, red and white paint. 

Step 2: Make two shades of green. 
Mix one with a lot of yellow and a little blue. Mix another with a lot of blue and some yellow. 


A lot of yellow in one and a little in the other
Add a little bit of blue into the one with a lot of yellow and three times the amount of blue to the one with a little yellow (but do not exceed the amount of yellow). 
Noe mix to make different shades of green.

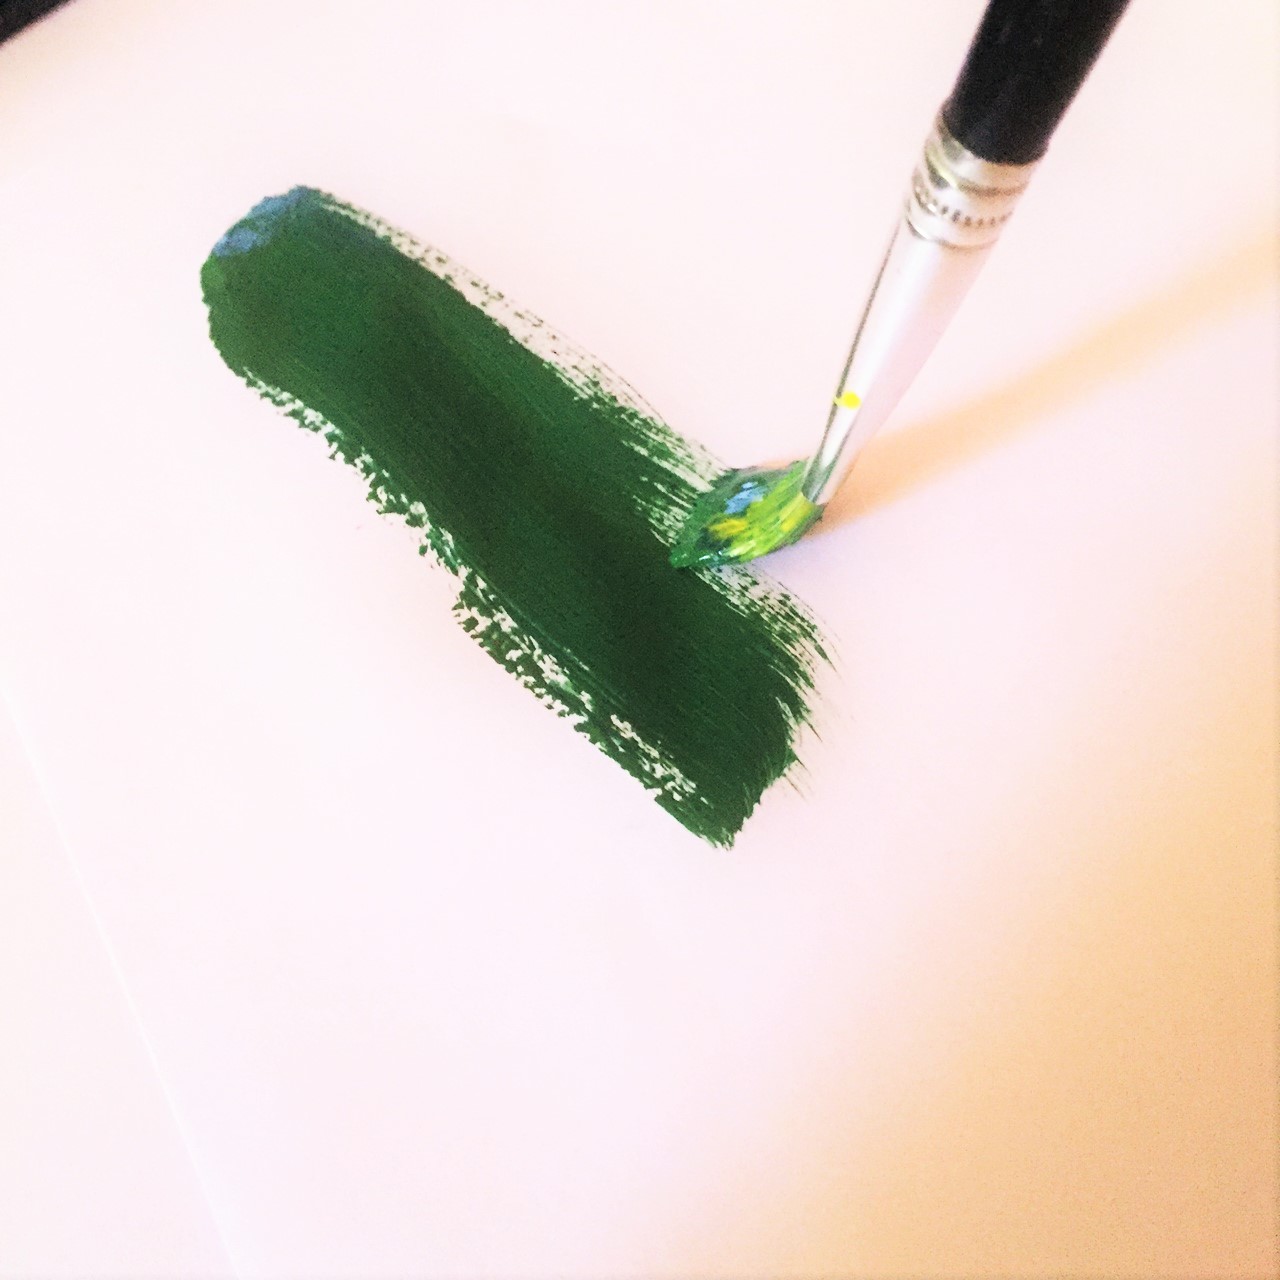
Step 3: Apply the dark green paint on one side of the A4 paper. 
Note: if the paint is too thick add a few drops of water to loosen it up.
Don't worry about the neatness of your strokes. But paint in a way so that your strokes are slightly parallel to each other (from the top of the longest side of the page to the bottom of the page). 


Apply the darker green to one side of the A4 sheet of paper. 
Paint the entire side of the A4 sheet of paper with the darker green. 

Step 5: Let the paint dry.

Step 6: Make the base and structure of the tree. 
While the paint is drying make basic structure of the Christmas tree. 
Use the harder sheet of paper for this. Draw a equilateral triangle (a triangle with all 3 side equal to each other). Make each side 6 centimeters apart, the angle between each side should be 60 degrees (you can use a protractor to measure the angles).  
You are basically required to make a triangular pyramid. The height of the side triangles should be 9 centimeters. Draw the side triangles and then on one side of each side triangle draw a little extension (the shaded part in the image below). You will need this to join each side to the other.  


The structure of the Christmas tree. 

Step 7: Cut out the Christmas tree structure.


Use your scissors to cut out the Christmas tree structure. 

Step 8: Paint the back side (the side without any pencil drawings) of the cut out structure green. 
Using whatever shade you prefer, I used the lighter green. 


Paint the entire side in your chosen shade of green

Note: Proceed with step 8 if the paint on the A4 sheet of paper has dried completely. Else skip this step and proceed with step 9 (come back to step 8 once the paint has dried). 

Step 9: Paint the other side of your A4 sheet of paper using the lighter green paint.  
The reason why we paint the other side with a lighter green paint is to give the Christmas tree more of a 3D effect. 


Paint the other side using the lighter green paint. 

Step 10: Make the decorations.
Make candy canes using the left over bits of paper from cutting out the structure for the Christmas tree. Or use a new sheet of the harder paper. 
Draw a candy cane shape with a little extension. Paint red strips on it. And paint the extension using the lighter shade of green Let it dry. And repeat on the other side. 


Draw candy cane shapes with extensions. 
Paint red strips on one side. Once dry cut them out and paint the other side the same way. 
Make Christmas tree baubles still using the harder paper. Draw a few outlines, circles with a little extension. Now paint the circles with whatever colors you like. I painted them light yellow (white and yellow), light orange (white, red and yellow) and light blue (white and blue). Let it dry. And repeat on the other side.


Paint the Christmas tree baubles in whatever color you want.
Make the tinsel using a long strip of the harder paper. Paint it yellow then splat, dab and smear some red and light orange over the yellow. Note: You can paint the tinsel strip in whatever color you like. Let it dry. And repeat on the other side. 


Paint the strip, let it dry and cut it out. 
Fold the strip in half.
Cut little snips on the open side. 
Separate the snips in such a pattern.
Step 11: Make the star decoration.
Note: This step can be a bit challenging. 
Cut out a strip of the harder paper 1 centimeter wide and 12 centimeters long. 

a. Fold the paper on one side of the strip to make a square shape.


Fold the strip to make a square. 
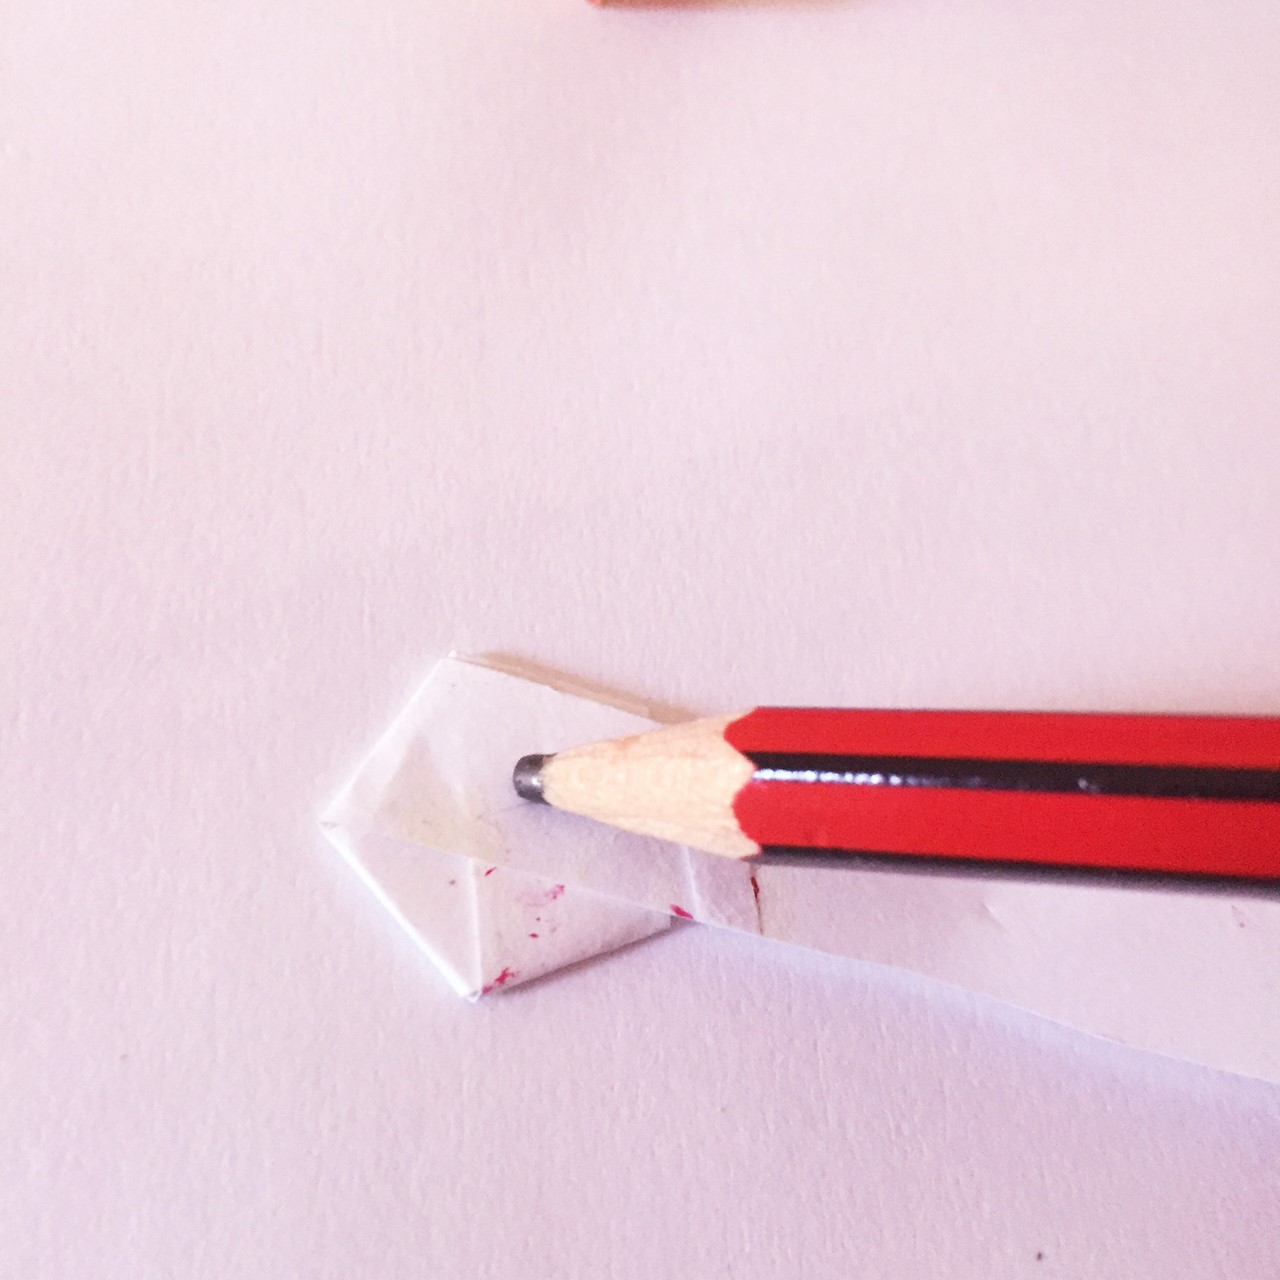
 b. Now fold the strip so that the top right-hand side vertex (corner) of the square fold, touches the side of the strip. 


Fold the strip again so that the top right-hand side corner touches the lower side of the strip. 
c. Now fold the strip so that it make a star shape. This is probably the hardest step. In order to make the star shape, fold the strip so that the bottom corner of the folded part (look at the image above) meets the bottom side (edge) of the strip. 


d. Fold the strip around the sides of the star, make sure you rotate around all the sides. 


Fold the strip around the sides of the star...
And around and around...
Until there is only about a centimeter left to fold. 
e. Tuck in the little bit of strip hanging out into the star shape. 


Tuck in the little strip hanging out. 
f. Push in the sides of the star using your nails. 


Push in the sides of the star.
Like so. 
g. Paint the star yellow (or whatever color you like).


Paint the star

Step 12: Using the measurements from step 6 cut out 15 triangles for the sides of the Christmas tree. That is 5 side triangle for each side. 


5 side triangle for each side of the Christmas tree 
Cut each side triangle into 3 parts. 

Step 13: Starting from the bottom section. Cut snips on the bottom part. Then stick on the painted side of the Christmas tree structure using sticky tape. First stick the dark green side facing out. Then stick the lighter green facing out. Layer all the 5 cuts in the same pattern. 
Do this for all the 3 pieces. 


Dark green first. 
Light green next. 
Stick all 5 pieces on top of the other and spread it out. 
Repeat for the next section. 
Repeat for the top section.
Repeat for all the sides and then the form the pyramid by sticking the extensions to the side of the adjacent side triangle. 

Step 14: Decorating your Christmas tree. 
This is pretty much the same as decorating a normal Christmas tree. You can decorate it however you like. Stick your decorations using the extensions and sticky tape. As for the tinsel, swirl it around the Christmas tree and stick the ends to the starting and ending position respectively. 


Stick the decorations using sticky tape. Tape the extension part to the Christmas tree. 
Decorate however you like and as much as you like. 

Step 15: Add the star. 
Cut out a small piece of paper, shaped like a spear. Tuck in the not sharp end into the star. Then tuck in the sharp end at the top of the tree. Using little sticky tape secure the star at the top. 


Spear shaped piece and the star. 
Tuck in the not sharp end into the star. 
Place the star on top of the tree. 
And there you have it. You made your very own, one of a kind, mini recyclable Christmas tree.

Merry Christmas!

by Gayathri