Stuff you need:
To make this Christmas tree you will need: some paint, some brushes, a paint palette, one A4 sheet of paper, 1 sheet of hard drawing paper, a ruler, a pencil, sticky tape and scissors.
 |
| Stuff you need (I forgot the ruler) |
Note: You can use colored A4 paper to make your Christmas tree instead of painting your A4 sheet of paper. Hence you can skip steps 1 to 3.
Step 1: Mixing paint.
You need yellow, blue, red and white paint in your paint palette
 |
| Yellow, blue, red and white paint. |
Step 2: Make two shades of green.
Mix one with a lot of yellow and a little blue. Mix another with a lot of blue and some yellow.
 |
| A lot of yellow in one and a little in the other |
 |
| Add a little bit of blue into the one with a lot of yellow and three times the amount of blue to the one with a little yellow (but do not exceed the amount of yellow). |
 |
| Noe mix to make different shades of green. |
Step 3: Apply the dark green paint on one side of the A4 paper.
Note: if the paint is too thick add a few drops of water to loosen it up.
Don't worry about the neatness of your strokes. But paint in a way so that your strokes are slightly parallel to each other (from the top of the longest side of the page to the bottom of the page).
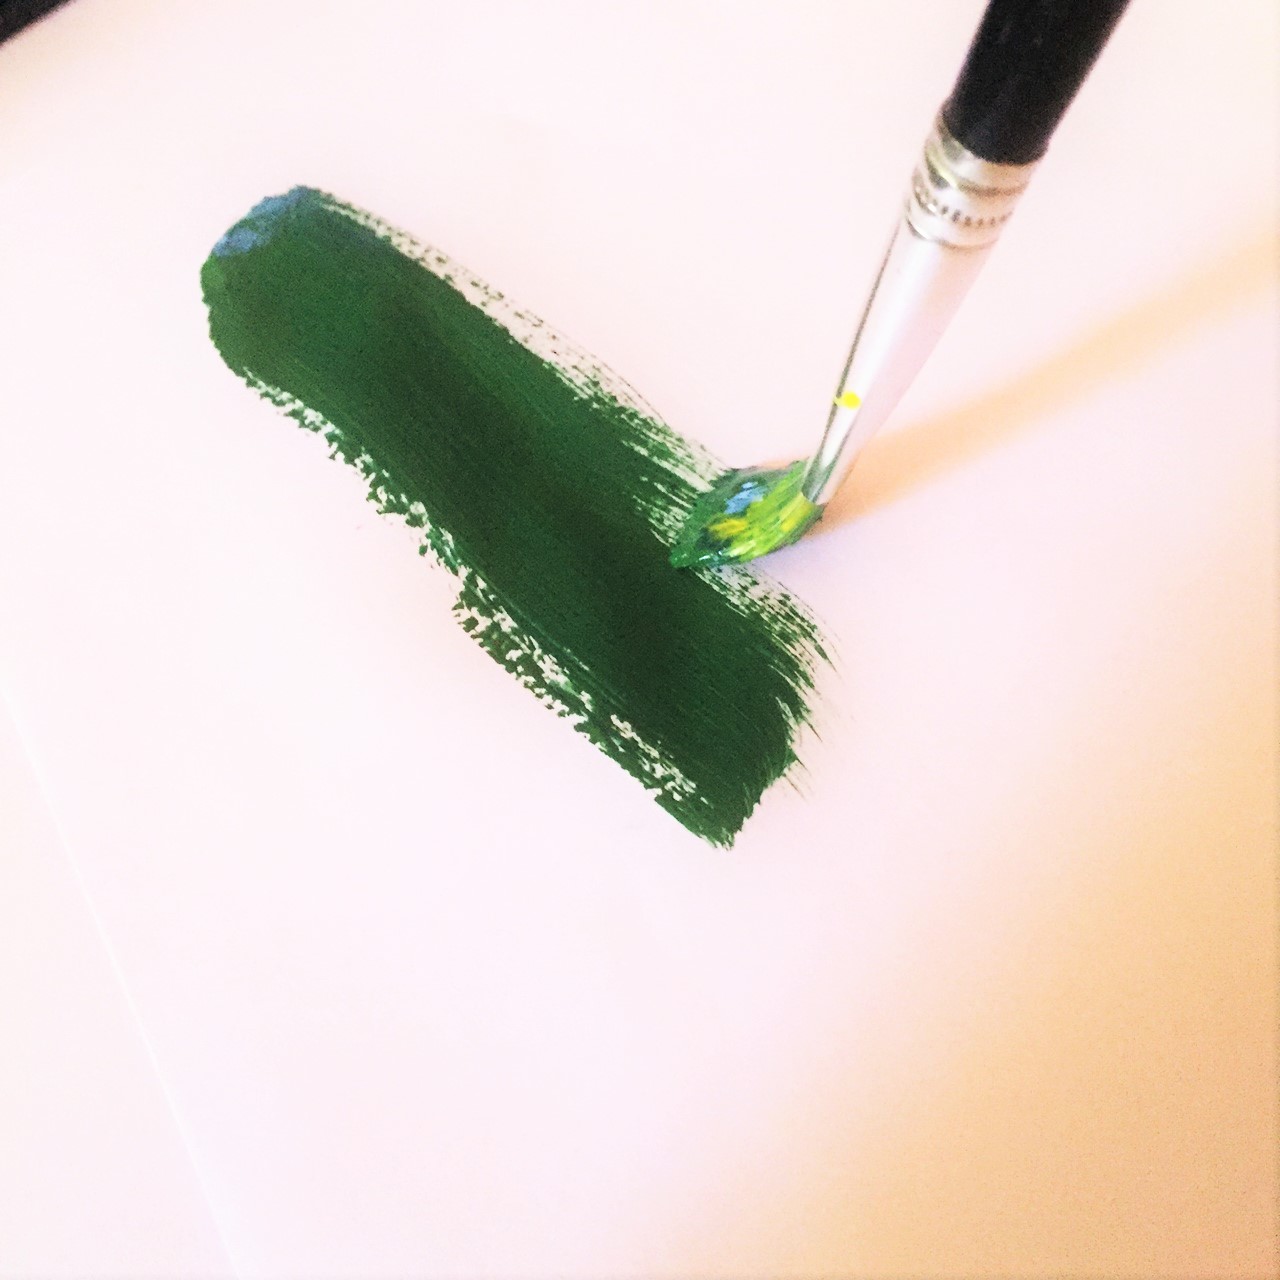 |
| Apply the darker green to one side of the A4 sheet of paper. |
 |
| Paint the entire side of the A4 sheet of paper with the darker green. |
Step 5: Let the paint dry.
Step 6: Make the base and structure of the tree.
While the paint is drying make basic structure of the Christmas tree.
Use the harder sheet of paper for this. Draw a equilateral triangle (a triangle with all 3 side equal to each other). Make each side 6 centimeters apart, the angle between each side should be 60 degrees (you can use a protractor to measure the angles).
You are basically required to make a triangular pyramid. The height of the side triangles should be 9 centimeters. Draw the side triangles and then on one side of each side triangle draw a little extension (the shaded part in the image below). You will need this to join each side to the other.
 |
| The structure of the Christmas tree. |
Step 7: Cut out the Christmas tree structure.
 |
| Use your scissors to cut out the Christmas tree structure. |
Step 8: Paint the back side (the side without any pencil drawings) of the cut out structure green.
Using whatever shade you prefer, I used the lighter green.
 |
| Paint the entire side in your chosen shade of green |
Note: Proceed with step 8 if the paint on the A4 sheet of paper has dried completely. Else skip this step and proceed with step 9 (come back to step 8 once the paint has dried).
Step 9: Paint the other side of your A4 sheet of paper using the lighter green paint.
The reason why we paint the other side with a lighter green paint is to give the Christmas tree more of a 3D effect.
 |
| Paint the other side using the lighter green paint. |
Step 10: Make the decorations.
Make candy canes using the left over bits of paper from cutting out the structure for the Christmas tree. Or use a new sheet of the harder paper.
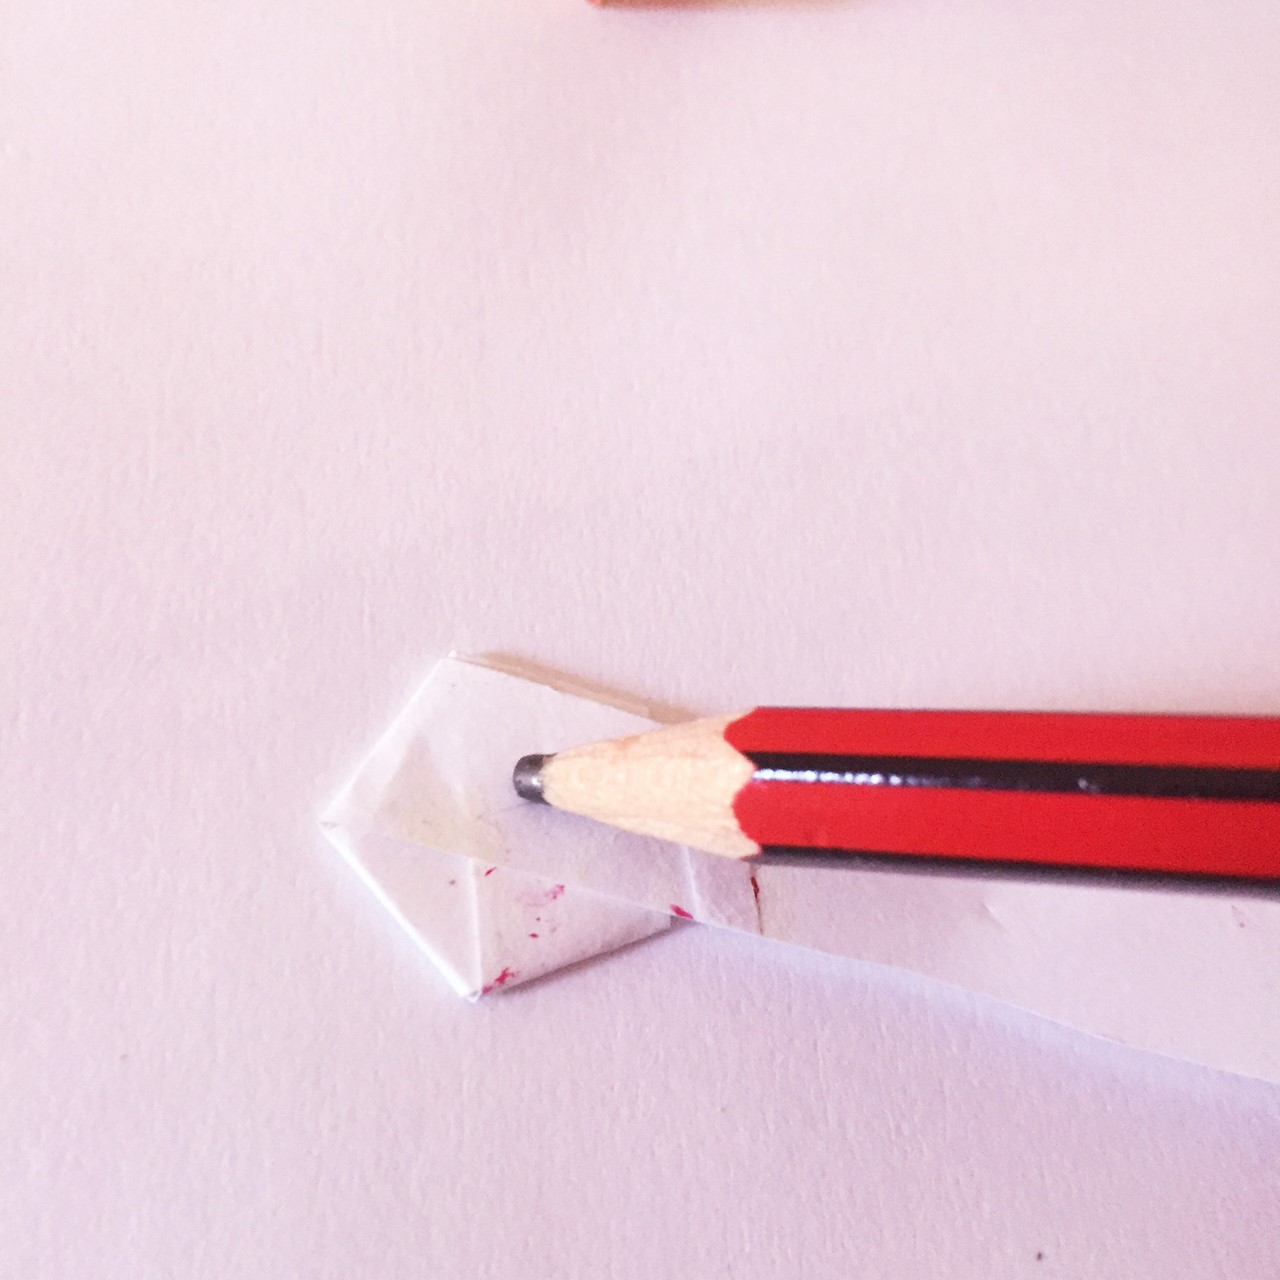
Draw a candy cane shape with a little extension. Paint red strips on it. And paint the extension using the lighter shade of green Let it dry. And repeat on the other side.
 |
| Draw candy cane shapes with extensions. |
 |
| Paint red strips on one side. Once dry cut them out and paint the other side the same way. |
 |
| Paint the Christmas tree baubles in whatever color you want. |
 |
| Paint the strip, let it dry and cut it out. |
 |
| Fold the strip in half. |
 |
| Cut little snips on the open side. |
 |
| Separate the snips in such a pattern. |
Note: This step can be a bit challenging.
Cut out a strip of the harder paper 1 centimeter wide and 12 centimeters long.
a. Fold the paper on one side of the strip to make a square shape.
 |
| Fold the strip to make a square. |
 |
| Fold the strip again so that the top right-hand side corner touches the lower side of the strip. |

d. Fold the strip around the sides of the star, make sure you rotate around all the sides.
 |
| Fold the strip around the sides of the star... |
 |
| And around and around... |
 |
| Until there is only about a centimeter left to fold. |
 |
| Tuck in the little strip hanging out. |
 |
| Push in the sides of the star. |
 |
| Like so. |
 |
| Paint the star |
Step 12: Using the measurements from step 6 cut out 15 triangles for the sides of the Christmas tree. That is 5 side triangle for each side.
 |
| 5 side triangle for each side of the Christmas tree |
 |
| Cut each side triangle into 3 parts. |
Step 13: Starting from the bottom section. Cut snips on the bottom part. Then stick on the painted side of the Christmas tree structure using sticky tape. First stick the dark green side facing out. Then stick the lighter green facing out. Layer all the 5 cuts in the same pattern.
Do this for all the 3 pieces.
 |
| Dark green first. |
 |
| Light green next. |
 |
| Stick all 5 pieces on top of the other and spread it out. |
 |
| Repeat for the next section. |
 |
| Repeat for the top section. |
 |
| Repeat for all the sides and then the form the pyramid by sticking the extensions to the side of the adjacent side triangle. |
Step 14: Decorating your Christmas tree.
This is pretty much the same as decorating a normal Christmas tree. You can decorate it however you like. Stick your decorations using the extensions and sticky tape. As for the tinsel, swirl it around the Christmas tree and stick the ends to the starting and ending position respectively.
 |
| Stick the decorations using sticky tape. Tape the extension part to the Christmas tree. |
 |
| Decorate however you like and as much as you like. |
Step 15: Add the star.
Cut out a small piece of paper, shaped like a spear. Tuck in the not sharp end into the star. Then tuck in the sharp end at the top of the tree. Using little sticky tape secure the star at the top.
 |
| Spear shaped piece and the star. |
 |
| Tuck in the not sharp end into the star. |
 |
| Place the star on top of the tree. |
Merry Christmas!
by Gayathri
No comments:
Post a Comment